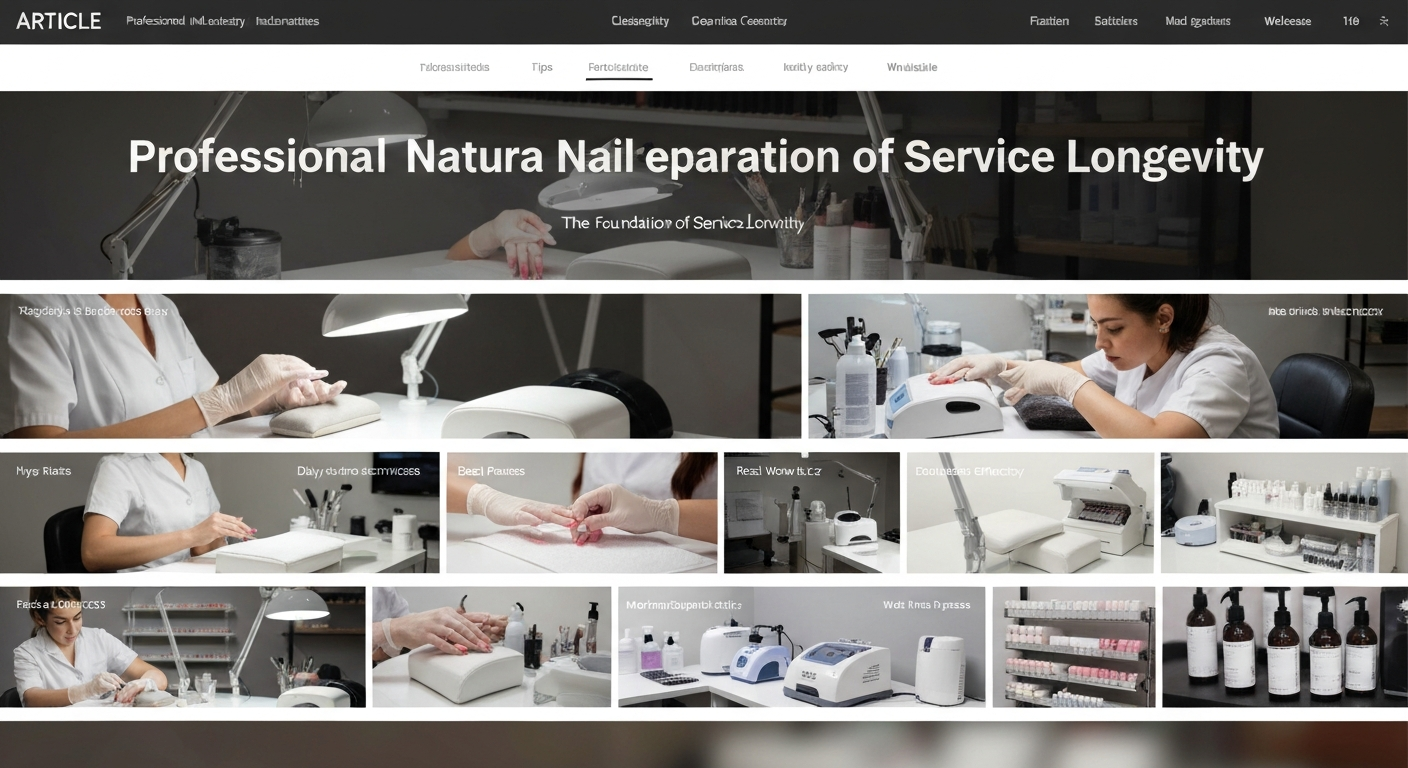
Professional Natural Nail Preparation: The Foundation of Service Longevity
In the professional nail industry, the longevity of any enhancement—whether gel polish, acrylic, dip powder, or builder gel—relies entirely on the preparation of the natural nail plate. Service breakdown and lifting are rarely caused by the product itself; they are almost exclusively the result of improper prep protocols.
For nail technicians, mastering the “prep” phase is not just about cleaning; it is about mechanically and chemically altering the nail plate to create the perfect substrate for adhesion. This guide outlines the industry standards for thorough, safe, and effective nail preparation.
The Three Pillars of Nail Preparation
Professional preparation can be categorized into three distinct phases. Skipping or rushing any of these steps creates weak points where water and oil can penetrate, leading to lifting and potential bacterial infections (greenies).
- Sanitation and Assessment: Ensuring a clean workspace and healthy canvas.
- Mechanical Preparation: Removing non-living tissue and creating surface texture.
- Chemical Preparation: Temporarily altering the pH and moisture content of the nail plate.
Phase 1: Mechanical Preparation and Cuticle Work
The primary cause of lifting at the eponychium (cuticle area) is the presence of the true cuticle—the thin, transparent layer of non-living tissue that sheds from the underside of the eponychium onto the nail plate. If product is applied over this tissue, it will lift as the tissue sheds.
Proper E-File Bit Selection
For dry manicures or “Russian-style” prep, selecting the correct diamond bit is crucial. Nail technicians should use fine-grit diamond bits (red or blue band) to safely lift the proximal nail fold and exfoliate the pterygium.
Flame Bits: Ideal for lifting the fold and cleaning the sinuses. The belly of the bit should be used, not the point, to avoid damaging the matrix or creating “rings of fire.”
Ball Bits: Used for exfoliating dead skin from the eponychium edge after the fold has been lifted. This replaces nippers in many modern workflows, reducing the risk of cutting live tissue.
Surface Etching and Shine Removal
Adhesion relies on a mechanical lock. The nail plate must be textured to allow the base product to anchor into the keratin fibers. This is often mislabeled as “damaging” the nail, but when done correctly, it is merely removing surface shine.
Use a 180-grit sponge buffer or a fine sanding band (240-grit) on an e-file at very low RPM. The goal is to remove natural oils and create a matte surface without thinning the nail plate. Every millimeter of the nail, specifically the sidewalls and near the cuticle, must be etched.
Phase 2: Chemical Preparation
Once the physical debris is removed, the nail plate must be chemically prepared. Dust removal is the first step here; use a stiff manicure brush and isopropyl alcohol to ensure no dust particles remain trapped in the lateral folds.
Dehydrators (pH Balancers)
Dehydrators are solvents (usually acetone or ethyl acetate based) that strip surface moisture and oil from the nail plate. This step is temporary; the nail will rehydrate within 20 to 30 minutes, so product application must follow relatively quickly.
Apply the dehydrator liberally to the nail plate. It should evaporate instantly, leaving a chalky white appearance. This indicates the surface moisture has been removed.
Primers: Acid vs. Acid-Free
Primers act as double-sided sticky tape, bonding to the keratin of the natural nail and the chemical structure of the enhancement product.
- Acid-Based Primers (Methacrylic Acid): Highly effective for problem lifters or acrylic services. They work by chemically etching the nail plate. Use sparingly to avoid chemical burns on surrounding skin.
- Non-Acid Primers (Acid-Free): The modern industry standard for gel polish and soft gels. These act as a bonding agent without the corrosive properties of acid. They leave a sticky residue that should not be wiped off.
Phase 3: Preventing Contamination During Service
A common error in salon workflows is touching the nail plate after preparation. Even a slight touch from the technician’s finger can transfer skin oils back onto the etched nail, neutralizing the primer and causing eventual lifting.
The “Zone of Inhibition”
Once the primer is applied, the nail plate is a sterile zone. If the client touches their face, phone, or hair, the chemical preparation steps (dehydrator and primer) must be repeated to ensure adhesion.
Standardizing the Workflow
To run a profitable and high-quality nail salon, this prep routine must be standardized across all technicians. Consistency in preparation leads to consistency in retention.
The Golden Rule: If the product touches skin, it will lift. If the preparation is incomplete, it will lift. By focusing 70% of the service effort on preparation and 30% on application, nail technicians can guarantee services that last 3 to 4 weeks without compromise.