The Ultimate Guide to Natural Nail Preparation for Gel Services
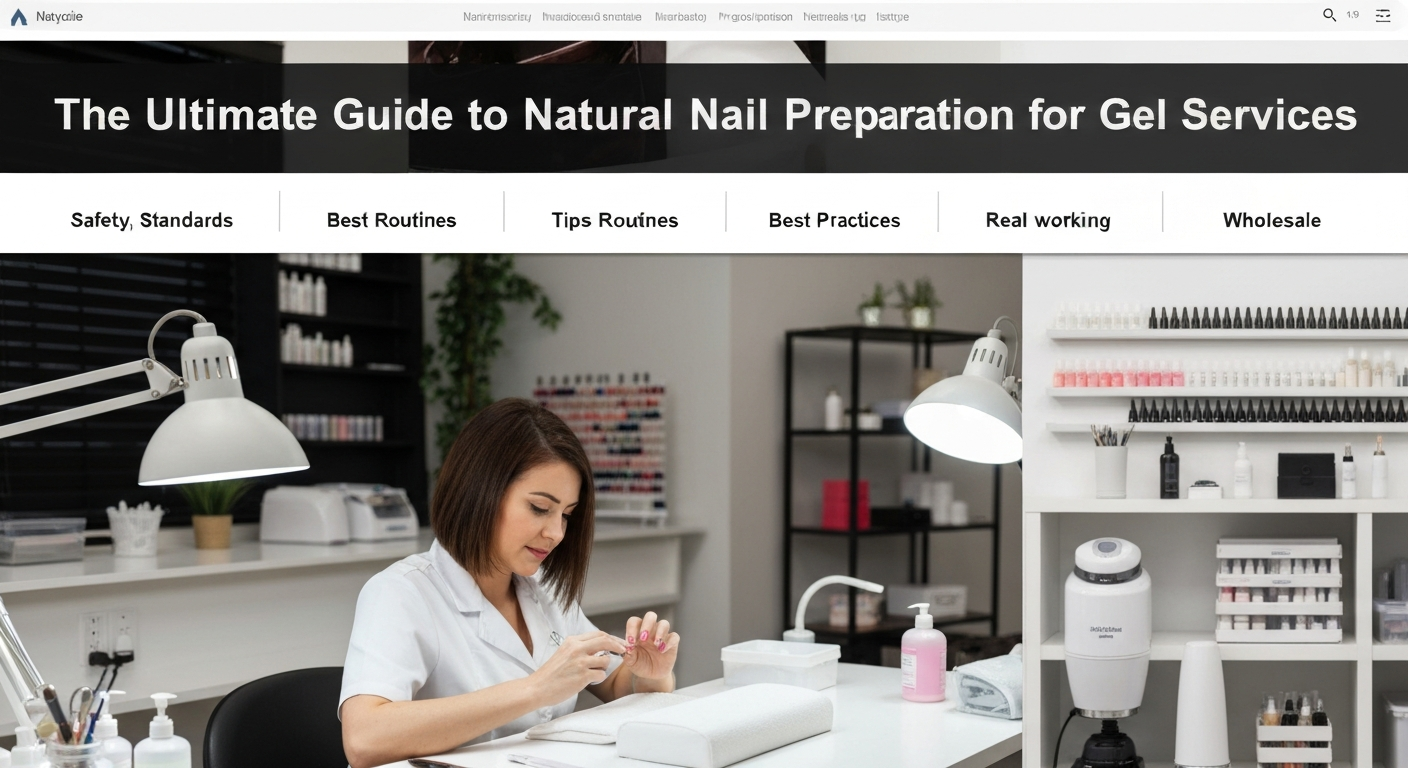
The success of any gel manicure, acrylic set, or dip powder service depends entirely on preparation. Without a meticulously prepped canvas, even the most expensive professional nail products will fail.
Lifting, chipping, and peeling are rarely caused by the product itself. In the vast majority of cases, these service breakdowns result from improper natural nail prep or remaining debris on the nail plate.
This guide outlines the industry-standard workflow for dry preparation, ensuring maximum adhesion and longevity for your salon clients.
Understanding the “Dry Prep” Method
Water is the enemy of long-lasting nail enhancements.Soaking the nails expands the porous nail plate, changing its shape and retaining moisture that fights against chemical adhesion.
Professional nail technicians should utilize a “dry prep” method. This involves using cuticle softeners or e-file techniques rather than soaking bowls before product application.
By keeping the nail plate structure dry, you ensure that the product bonds to the keratin in its natural, contracted state, significantly reducing the risk of service breakdown.
Step 1: Pterygium Removal and Cuticle Work
True cuticle refers to the non-living tissue that sheds from the underside of the eponychium and attaches to the nail plate. This thin, often invisible film is the primary cause of lifting.
Push back the eponychium gently using a stainless steel pusher. Ensure you are separating the skin from the nail plate without causing pain or breaking the seal of the proximal fold.
Professional Tip: Use a curette or a specialized e-file bit (such as a diamond flame bit) at a low RPM to safely exfoliate the stubborn cuticle tissue from the lateral folds and sinus area.
Step 2: Surface Texture and Shine Removal
Adhesion relies on a mechanical bond. The nail plate must be textured slightly to allow the base coat or primer to grip the surface. However, this does not mean damaging the nail.
Use a 180-grit or 240-grit sponge buffer or file. Gently remove the surface shine from the entire nail plate, paying close attention to the sidewalls and the area near the cuticle.
Avoid over-filing. You are removing oil and creating a microscopic rough surface, not thinning the nail plate. Over-filing leads to heat spikes during the curing process and creates a weak foundation.
Step 3: Dust Removal and Cleansing
Once the cuticle is removed and the surface is buffed, dust is your next obstacle. Micro-dust trapped in the lateral folds can mix with your gel product, causing contamination and lifting.
Use a stiff manicure brush to scrub dust downward, away from the cuticle. Follow this by wiping the nail plate with a lint-free wipe saturated in 99% Isopropyl Alcohol (IPA) or a professional cleanser.
Critical Check: Verify that no dust remains tucked inside the sidewalls. If you apply gel over dust, the air pocket created will lead to immediate lifting.
Step 4: Chemical Dehydration and Priming
Mechanical preparation must be followed by chemical preparation. This two-step system alters the pH of the nail plate to make it compatible with artificial nail products.
Applying Nail Dehydrator
Apply a layer of dehydrator to the natural nail. Watch as it evaporates instantly, turning the nail to a chalky white finish. This indicates that surface oils and moisture have been temporarily removed.
If the client has hyperhidrosis (excessively sweaty hands), you may need to apply the dehydrator twice to ensure the plate is fully dried before proceeding.
Applying Acid-Free Primer
Modern industry standards favor acid-free primers (bonding agents) over methacrylic acid primers, which can burn the surrounding skin and thin the nail plate over time.
Apply a minimal amount of primer to the natural nail only. Do not flood the cuticle or let it touch the skin. The primer acts as “double-sided tape,” linking the keratin to the gel overlay.
Common Prep Mistakes to Avoid
- Touching the nails: After dehydration, do not let the client touch their face, hair, or phone. This reintroduces oils to the nail plate immediately.
- Using old files: Worn-out files may buff the nail smooth rather than creating the necessary texture for adhesion. Replace your abrasives regularly.
- Incomplete removal: Leaving translucent cuticle tissue on the nail plate guarantees that the product will lift within days.
Mastering these preparation steps establishes a professional standard in your salon. It protects the integrity of the client’s natural nails while ensuring your work lasts for 3 to 4 weeks.