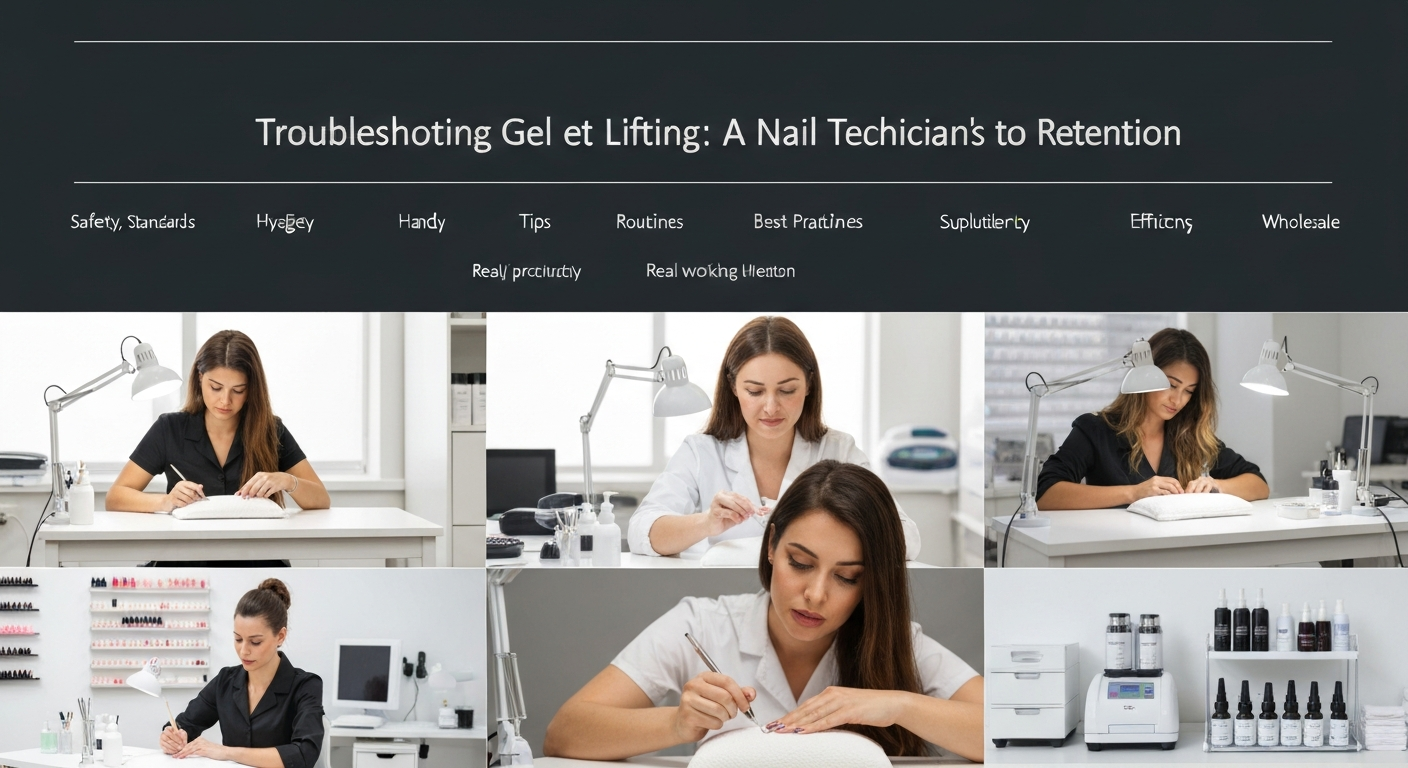
Troubleshooting Gel Lifting: A Nail Technician’s Guide to Retention
For any professional nail technician, client retention relies heavily on product retention. Nothing frustrates a client more than a gel manicure that begins to lift after only a few days.
Lifting is rarely a fault of the product itself. In the vast majority of cases, it stems from improper preparation or application errors during the service.
Mastering the foundational steps of the nail workflow will significantly reduce service breakdowns. Here are the professional standards for preventing gel lifting.
The Critical Role of Cuticle Preparation
The leading cause of lifting occurs at the eponychium area. If gel product touches the skin or sits on top of remaining non-living tissue, it will lift immediately as the skin sheds naturally.
Thorough preparation is non-negotiable. You must remove the true cuticle—the thin layer of dead skin attached to the nail plate—not just push back the proximal fold.
Removing Invisible Cuticle Tissue
Using a pusher often leaves behind a transparent film of cuticle. This pterygium acts as a barrier between the natural nail and the product.
For best results, use a dry manicure technique with an e-file and a fine grit diamond bit (flame or ball) to gently exfoliate the nail plate near the proximal fold.
Ensure you are working at a low RPM to avoid cutting the living skin or creating “rings of fire” on the nail plate.
Surface Texture and Adhesion
Gel products require a textured surface to anchor effectively. A nail plate that is too smooth provides no grip for the base coat.
However, over-filing damages the keratin layers, leading to a weak foundation that flexes too much, causing the rigid gel to separate.
Proper Buffing Techniques
Use a 180 or 240-grit buffer or hand file to gently remove the natural shine. Your goal is to create micro-scratches, not to thin the nail plate.
Focus on the sidewalls and the area near the cuticle, as these are the most common starting points for lifting.
Always remove dust thoroughly using a stiff manicure brush and a lint-free wipe saturated in pure cleanser or alcohol. Dust particles trapped under gel will cause pockets of air.
Chemical Preparation: Dehydrators and Primers
The natural nail plate contains oils and moisture that repel gel products. Chemical preparation resets the surface for optimal bonding.
Do not skip this step, especially for clients with “problem lifter” nails or hyperhidrosis (sweaty hands).
Using pH Bond and Primers
Apply a dehydrator first to strip surface oils and temporarily dry out the keratin layers. The nail should appear chalky white immediately after application.
Follow with a primer. For gel polish, a non-acid primer is usually sufficient and acts as double-sided sticky tape. Apply it sparingly; flooding the nail with primer can actually decrease adhesion.
Application Control and Capping
How you apply the gel base and color is just as important as how you prep the canvas. Thick layers often fail to cure properly, leading to shrinkage and lifting.
Avoiding Skin Contact
Leave a microscopic margin between the product and the skin. If you flood the sidewalls or cuticle area, you must clean it up before curing.
Use a fine liner brush dipped in alcohol to clean the perimeter. Once cured, any product touching the skin will act as a lever, pulling the gel up as the skin moves.
Sealing the Free Edge
Free edge separation is a specific type of lifting that starts at the tip. This is common with clients who type heavily or use their nails as tools.
You must “cap” the free edge with your base coat, color, and top coat. Run the brush along the distal edge to seal the layers together.
If the client has extremely short nails, use a detail brush to seal the edge without getting product on the hyponychium.
Curing Equipment and Standards
Undercuring is a silent killer of nail sets. If the photoinitiators in the gel do not react fully, the product remains unstable near the nail plate.
Always use a professional-grade LED or UV lamp that is compatible with your specific gel system. Manufacturer calibration matters.
Lamp Position and Hand Placement
Ensure the client’s hand is placed correctly so that all five fingers are under the bulbs. Thumbs often lift because they are positioned at an angle, missing direct light exposure.
Instruct clients to keep their hands flat. If necessary, cure the four fingers and thumbs separately to guarantee a full cure on the sides.
Check your bulbs regularly. Even if they light up, the intensity of the UV output diminishes over time, leading to service breakdown and potential allergies.