Mastering Retention: Why Gel Lifts and How to Stop It
For professional nail technicians, service longevity is the ultimate measure of success. Nothing damages a nail tech’s reputation faster than a set of gels that peels or lifts within days.
Lifting is rarely a product fault; it is almost exclusively a result of improper preparation or application errors. Understanding the chemistry of adhesion is vital.
This guide breaks down the industry standards for nail plate preparation to ensure maximum adhesion for gel polish, builder gel, and acrylic enhancements.
The Science of Nail Plate Preparation
Adhesion occurs when the product locks into the keratin structure of the natural nail. If barriers exist between the keratin and the product, lifting is inevitable.
Common barriers include non-living tissue, natural oils, moisture, and dust. Removing these requires a meticulous protocol commonly known in the industry as “dry prep.”
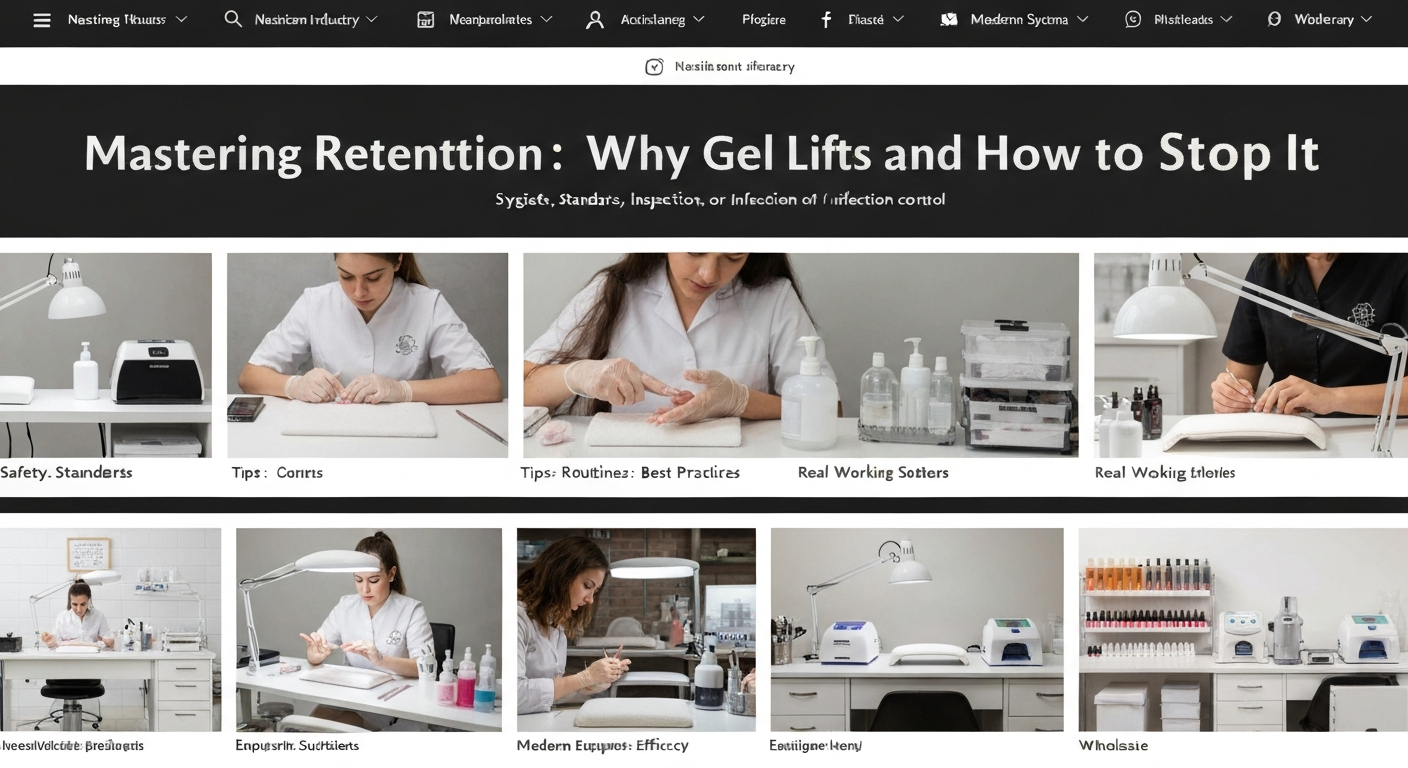
Proper Cuticle Removal
Pushing back the eponychium is not enough. You must remove the true cuticle—the thin layer of dead skin stuck to the nail plate.
Using a diamond cuticle bit with an e-file (electric file) at low RPM is the most effective method for this step. It exfoliates the nail plate safely.
If you do not use an e-file, a sharp stainless steel pusher and nippers must be used with precision to ensure no tissue remains in the lateral folds.
Surface Texture and Etching
Gel products need a textured surface to grab onto. A completely smooth, shiny nail plate will repel the product.
Gently remove the shine using a 180-grit sponge buffer or a fine sanding band. The goal is to raise the keratin scales, not to thin the nail plate.
Always dust thoroughly downwards. Using a manicure brush is good, but a lint-free wipe with cleanser is better to remove micro-dust particles.
Chemical Dehydration and Priming Standards
Once the physical prep is complete, you must address the chemical state of the nail. Oils and moisture are the enemies of polymerization.
Dehydrators: These temporarily strip moisture and oil from the upper layers of the nail plate. Apply liberally and wait for the nail to turn chalky white.
Primers: These act as double-sided sticky tape. Acid-free bonders are the modern salon standard, as they prevent chemical burns while linking the natural nail to the base gel.
Apply primer sparingly. Flooding the cuticle with primer can actually cause lifting by over-saturating the nail plate.
Base Coat Application and Curing Protocols
The application of the base coat is arguably the most critical step in the gel manifold. It is the anchor for the entire structure.
- Scrubbing Method: Do not just float the base coat. Use your brush to “scrub” the product into the etched surface of the nail.
- Thin Layers: A thick base coat may not cure properly near the nail bed, leading to uncured product and eventual separation.
- Capping the Free Edge: Seal the distal edge to prevent water from entering between the nail and the coating during the client’s daily activities.
Optimizing Your Lamp Usage
Undercuring is a leading cause of service breakdown and allergies. Ensure your LED or UV lamp is compatible with your specific gel system.
Check that the client’s hand placement is centered. Thumbs should often be cured separately to ensure the light hits the sidewalls directly.
Bulbs degrade over time. If you notice lifting increasing across multiple clients, check the intensity of your curing unit immediately.
Troubleshooting Common Salon Scenarios
Even with perfect prep, certain habits can ruin retention. Watch for these red flags during your service workflow:
Touching the Nail: Once prepped, do not touch the nail plate with your fingers. Your skin oils will transfer instantly.
Flooding the Sidewalls: If gel touches the skin, it creates a ledge. As the skin moves, it pries the gel off the nail plate. Clean floods before curing.
Old Files: Worn-out files buff the nail rather than etching it. Replace your disposable files or sanding bands regularly to ensure proper grit.