Stop Gel Lifting: Professional Protocols for Long-Lasting Enhancements
Client retention relies heavily on the longevity of your nail services. Nothing drives a client away faster than premature lifting.
For professional nail technicians, lifting is rarely a product failure. It is almost always a breakdown in the preparation or application process.
Mastering adhesion requires a strict adherence to chemical principles and mechanical preparation standards specific to the nail industry.
1. Perfection in Mechanical Preparation
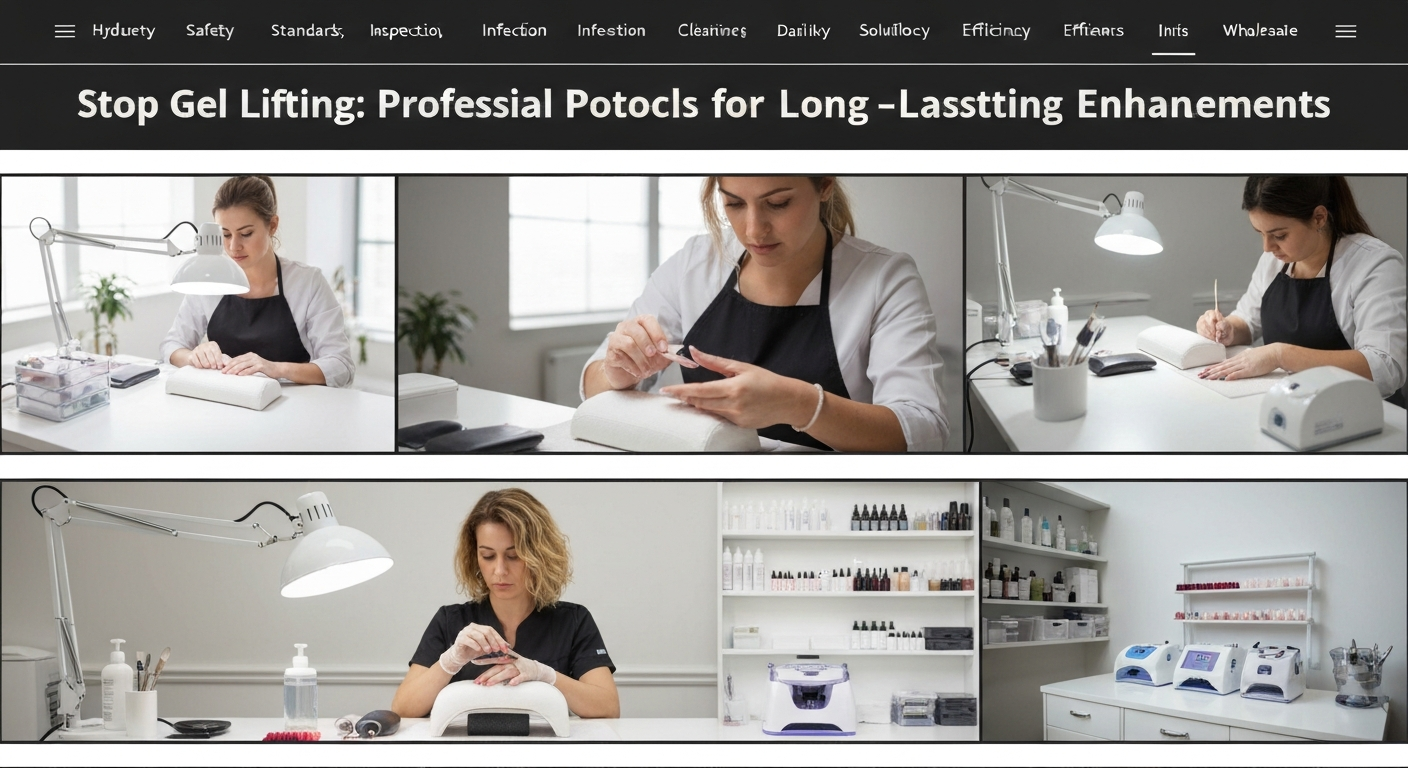
The foundation of every gel manicure or enhancement is the surface of the natural nail plate. You must create the correct texture for the product to grip.
Remove the Shine, Do Not Damage
Over-filing thins the nail plate, making it flexible and prone to separation from rigid gel products. Use a 180-grit sponge buffer or a fine sanding band.
The goal is to gently remove surface oils and create microscopic channels for the base coat to anchor into.
Handling the E-File Correctly
If you use an e-file for prep, keep your RPMs low (between 3,000 and 6,000 RPM). High speed creates heat and friction damage.
Ensure your sanding band is fresh for every client. A dull band requires more pressure, which leads to nail plate indentation and “rings of fire.”
2. True Cuticle Removal vs. Pushing Back
Lifting around the proximal nail fold is caused by product sitting on top of non-living tissue. Gel will not bond to skin or dead tissue.
Simply pushing back the eponychium is not enough. You must remove the true cuticle—the thin layer of dead tissue stuck to the nail plate.
Dry Manicure Techniques
Avoid soaking the nails in water before gel application. The nail plate is like a sponge and will expand when saturated.
If you apply gel to a water-logged nail, the nail will shrink back to its original size as it dries, causing the coating to separate.
Perform a dry manicure using diamond bits to exfoliate the cuticle area safely and effectively before product application.
3. Chemical Dehydration and Priming
Once dust is removed, chemical preparation is the final barrier against lifting. This step alters the pH of the nail plate to favor adhesion.
The Two-Step System
- Dehydrator: Apply this first to strip moisture and surface oils. The nail should turn a chalky white instantly.
- Primer: Use an acid-free primer for standard gel services. It acts like double-sided tape between the keratin and the gel.
Do Not Flood the Cuticle
When applying primer, use a “dry brush” technique. Too much primer can seep into the sidewalls and cause chemical burns or adhesion failure.
4. Controlling Product Application
Thick layers of gel do not cure properly. The UV/LED light cannot penetrate dense pigment or thick builder gel effectively in one go.
This results in under-cured product sitting against the nail plate, which eventually peels off and can cause contact dermatitis.
The Slip Layer Method
For builder gels or structure gels, apply a thin slip layer first, but do not cure it. Then, float your bead of gel over this wet layer.
This technique helps the product self-level without running into the lateral folds. Keep a hairline margin around the skin to prevent lifting edges.
5. Curing Lamp Maintenance and Hand Placement
Even the best application will lift if the photo-initiation process is incomplete. Your curing lamp is the most critical tool in the salon.
Check Your Wavelengths
Ensure your lamp matches your gel system. Most professional gels require 365nm to 405nm wavelengths. Mismatched lamps lead to “service breakdown.”
Client Hand Placement
Educate your clients on how to place their hand in the lamp. Fingers must be flat and centered under the diodes.
If the thumb is tilted sideways, the light will not hit the sidewalls, leading to uncured edges that will lift within days.
Regularly clean the reflective base of your lamp. Cured gel residue on the tray reduces the reflection of light needed to cure the undersides of the nails.