The Ultimate Guide to Preventing Builder Gel Lifting
Service breakdown and product lifting are the most common frustrations for nail technicians.
When clients return with caught hair or popped-off enhancements, it affects your reputation and revenue.
Mastering retention requires a deep understanding of nail plate chemistry and precise application protocols.
1. The Importance of a True Dry Manicure
Water is the enemy of long-lasting nail enhancements.
Soaking the nails causes the nail plate to swell and change shape temporarily.
When the nail dries and shrinks back, the rigid gel product separates, causing immediate lifting.
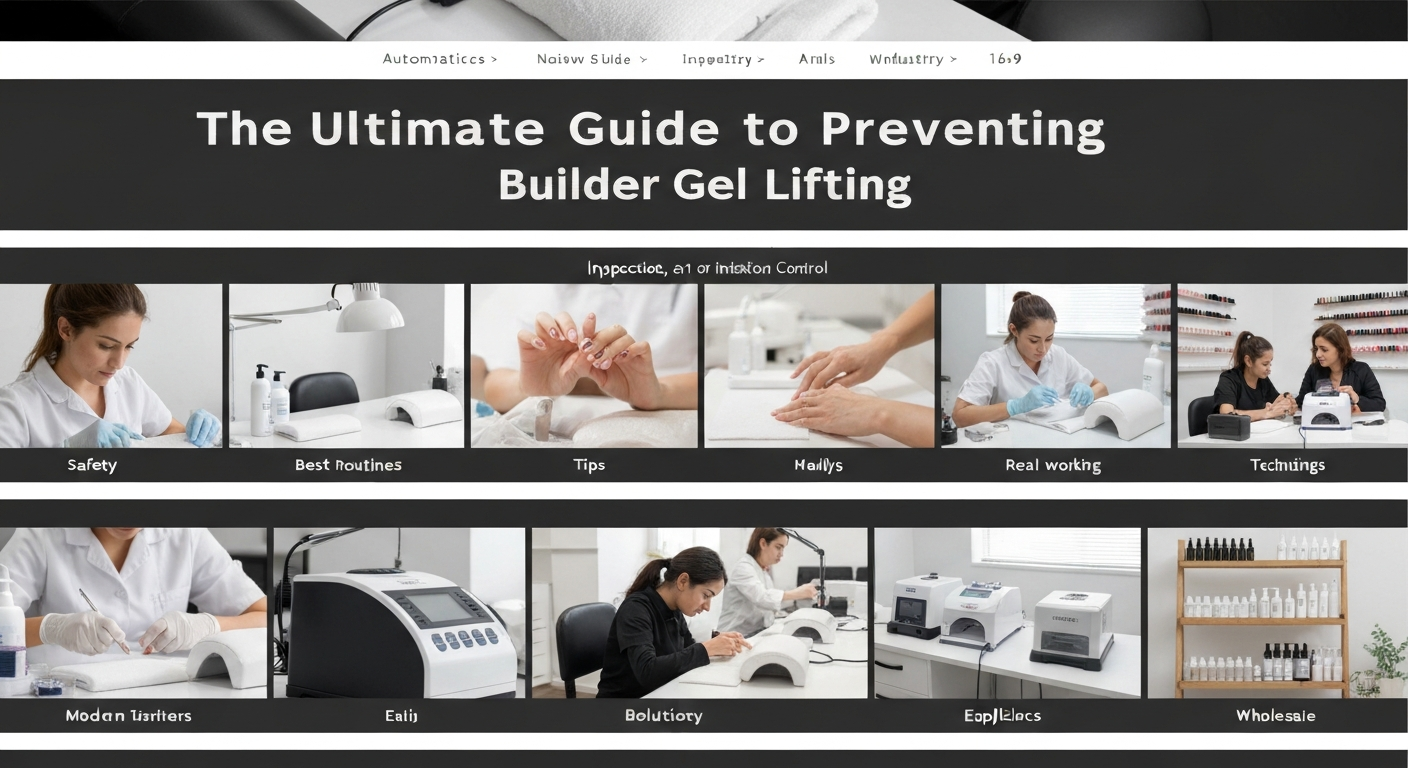
Performing Safe E-File Prep
Switch to a completely dry manicure process using an e-file and diamond bits.
Gently exfoliate the cuticle area to remove non-living tissue from the nail plate.
Ensure you are lifting the proximal nail fold without damaging the matrix.
2. Removing Hidden Cuticle (Pterygium)
Invisible cuticle on the nail plate is the leading cause of lifting near the eponychium.
Even a microscopic layer of skin will prevent the gel from bonding to the keratin.
Tip: Use a flame or cylinder bit at low RPM to ensure the plate is spotless.
3. Proper Surface Etching
Gel products need a textured surface to mechanically interlock with the nail.
Buffing the nail too smooth will reduce adhesion significantly.
Use a 180-grit sanding band or hand file to gently remove the surface shine.
4. Chemical Dehydration and pH Balancing
Once dust is removed, you must strip the nail of oils and contaminants.
Use a pure acetone or alcohol-based cleanser on a lint-free wipe.
Apply a pH bond or dehydrator to temporary dry out the nail layers.
Selecting the Right Primer
Choose a primer compatible with your specific builder gel system.
Acid-free primer acts like double-sided tape and is suitable for most clients.
Use primer sparingly; flooding the nail with primer can actually decrease adhesion.
5. The Scrubbing Method for Base Coats
Do not just paint the base coat on like traditional polish.
Use a separate gel brush to firmly “scrub” the clear base layer into the etched nail plate.
This technique forces the product into the keratin grooves for a stronger anchor.
6. Controlling the Cuticle Area Application
Touching the skin with uncured gel is a guaranteed recipe for lifting.
Leave a tiny margin (hairline gap) between the product and the proximal nail fold.
Use a thin liner brush to guide the builder gel precisely around the sidewalls.
7. Bulb Maintenance and Curing
Under-cured product is unstable and will eventually lift or cause allergies.
Check your LED/UV lamp regularly to ensure all diodes are functioning.
Instruct clients on proper hand placement to ensure the light hits the sidewalls and thumbs.
Troubleshooting Checklist for Nail Techs
- Sidewall Lifting: Usually caused by product touching the skin or thick application at the edges.
- Free Edge Separation: Often caused by not capping the free edge or natural nail separation (curling).
- Pocket Lifting: Indicates improper prep in the center of the nail or insufficient primer.
By refining these technical steps, you can guarantee 4+ weeks of wear for your clients.
Consistency in your prep routine is the key to building a fully booked schedule.