Master Retention: How to Stop Gel Polish from Lifting
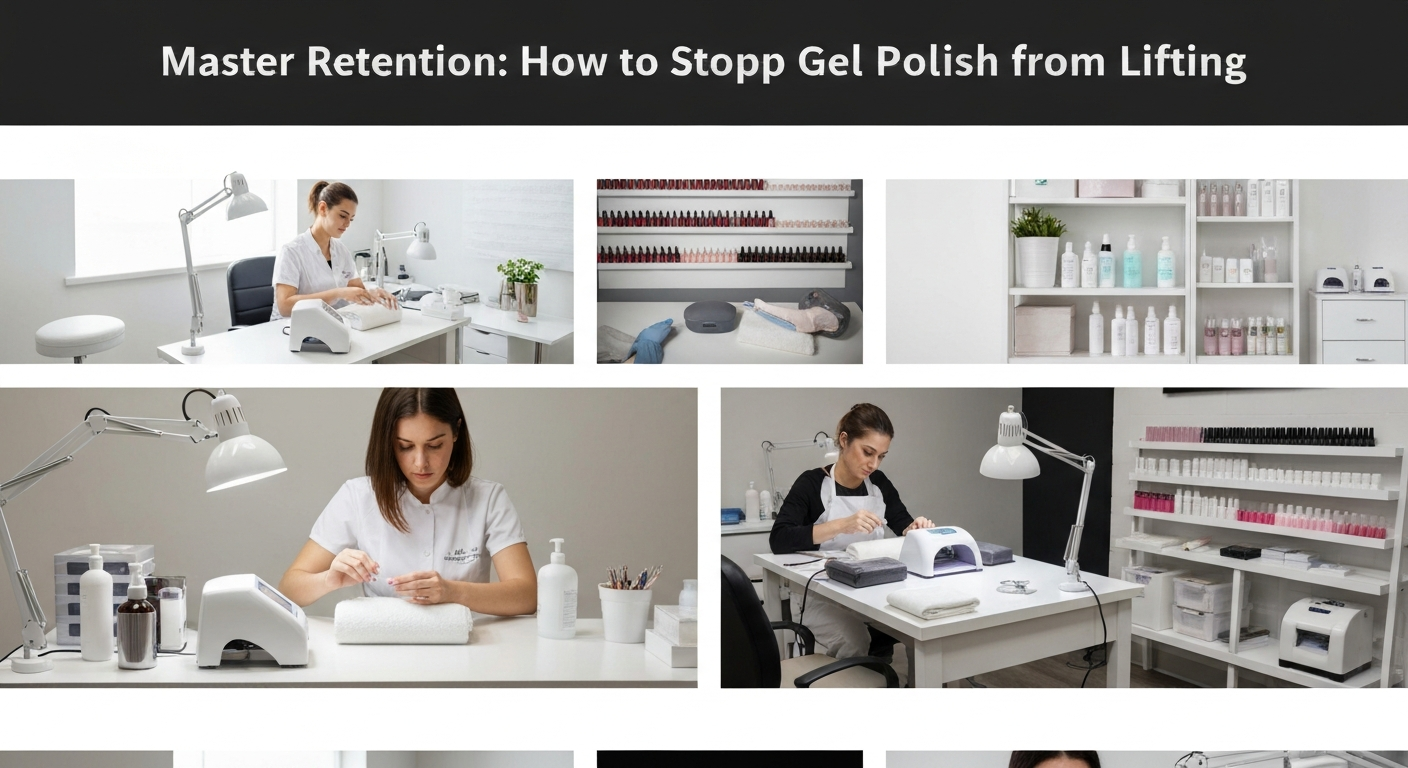
For any professional nail technician, client retention relies heavily on product retention. Nothing damages a salon’s reputation faster than a gel manicure that peels or lifts within a few days.
Lifting is rarely a product fault; it is almost always a result of improper preparation or application errors. By refining your workflow and adhering to strict industry standards, you can guarantee sets that last 3 to 4 weeks.
This guide covers the technical root causes of lifting and practical solutions to implement at your nail station immediately.
The Foundation: Immaculate Cuticle Work
The most common cause of lifting occurs when the product touches non-living tissue on the nail plate. Even invisible cuticle remnants can create a barrier that prevents adhesion.
Remove the Pterygium
Many technicians push back the eponychium but fail to remove the true cuticle (pterygium). This thin layer of dead skin stays stuck to the nail plate and causes immediate separation.
- Use a cuticle softener: If performing a wet manicures, ensure all oils are removed later. For gel services, dry manicures are preferred.
- E-file techniques: Use a fine-grit diamond bit (flame or ball) at low RPM to gently exfoliate the cuticle from the nail plate.
- Visual check: The nail plate near the proximal fold should look chalky or matte, indicating that no skin remains.
Surface Preparation: Mechanical Adhesion
Gel products require a textured surface to grip effectively. While you should never damage the natural nail, “buffing” is often misunderstood.
The goal is to remove surface shine and oils, not to thin the nail plate. A smooth, shiny nail plate acts like glass, causing the gel to slide off.
- Select the right grit: Use a 180 or 240-grit buffer or hand file. Do not use worn-out buffers that merely polish the nail.
- Focus on the sidewalls: Oil accumulates in the lateral folds. Ensure you etch these areas thoroughly but gently.
- Dust removal: Use a stiff manicure brush to remove all dust particles. Dust trapped under gel creates air pockets.
Chemical Preparation: Dehydrators and Primers
Once the physical prep is complete, chemical preparation alters the nail plate’s surface chemistry to bond with the base coat.
Dehydration is Mandatory
The nail plate contains moisture and oils that repel gel. Use a dedicated nail dehydrator (cleanser) on a lint-free wipe.
Scrub the nail plate vigorously. Do not just wipe it once; the friction helps pull oils from the layers of keratin.
Primer Application Rules
Primers act as double-sided tape. However, misuse can lead to service breakdown or allergies.
- Acid-free primer: The industry standard for gel polish. Apply a thin layer and let it air dry for 30-60 seconds.
- Less is more: Flooding the cuticle with primer can cause chemical burns and actually reduce adhesion.
- Don’t touch: Once primed, never touch the nail plate with your fingers. This reintroduces skin oils immediately.
Application Control: The “Slip Layer” Technique
If your base coat or color is too thick, it will not cure properly in the LED/UV lamp, leading to uncured product near the nail plate and subsequent lifting.
To ensure a flush application near the cuticle area:
- Create a boundary: Apply a thin slip layer of base coat, leaving a tiny margin (hairline gap) away from the cuticle and sidewalls.
- Flash cure if needed: If the product is runny, flash cure individual fingers (5-10 seconds) to lock the product in place before the full cure.
- Seal the free edge: Cap the free edge with the base coat, color, and top coat. This wraps the product around the keratin layers to prevent tip wear.
Curing Lamp Maintenance and Safety
Undercuring is a silent killer of gel manicures. If the photoinitiators in the gel do not activate fully, the bond to the nail plate remains weak.
Check Your Equipment
Using a generic lamp with a professional system can result in service failure. Wavelengths (365nm vs. 405nm) must match your specific gel brand.
Ensure your clients place their hand correctly. The thumb must lie flat. If the thumb is tilted, the light cannot penetrate the side, causing lifting on the lateral wall.
Troubleshooting Checklist for Nail Techs
If a client returns with lifting, analyze the failure to prevent recurrence:
- Lifting at the cuticle: Usually indicates improper prep or product flooding the skin.
- Lifting at the free edge: Often caused by the client using nails as tools, or failure to cap the edge.
- Pocket lifting (center): Indicates the nail plate was flexible, but the product was too hard/rigid (structure gel mismatch).
By mastering these technical standards, you elevate your service from a simple paint job to a professional, durable nail enhancement that justifies premium pricing.