The Professional Protocol for Flawless Natural Nail Preparation
For any professional nail technician, service longevity is the ultimate measure of success. No matter how beautiful the nail art is, it is worthless if the enhancement lifts within a week.
Lifting is rarely a product fault; it is almost always a failure in the preparation process. Understanding the chemistry and mechanics of adhesion is vital for salon success.
This guide outlines the industry-standard workflow for natural nail preparation (PREP) suitable for gel polish, builder gel, and acrylic applications.
1. Assessing the Canvas and Pterygium Removal
Adhesion begins before you pick up a file. You must identify the “true cuticle” versus the eponychium. The white, flaky skin stuck to the nail plate is the cuticle (pterygium).
Product applied over the smallest speck of remaining cuticle will eventually lift. The product bonds to the skin, the skin sheds naturally, and the seal is broken.
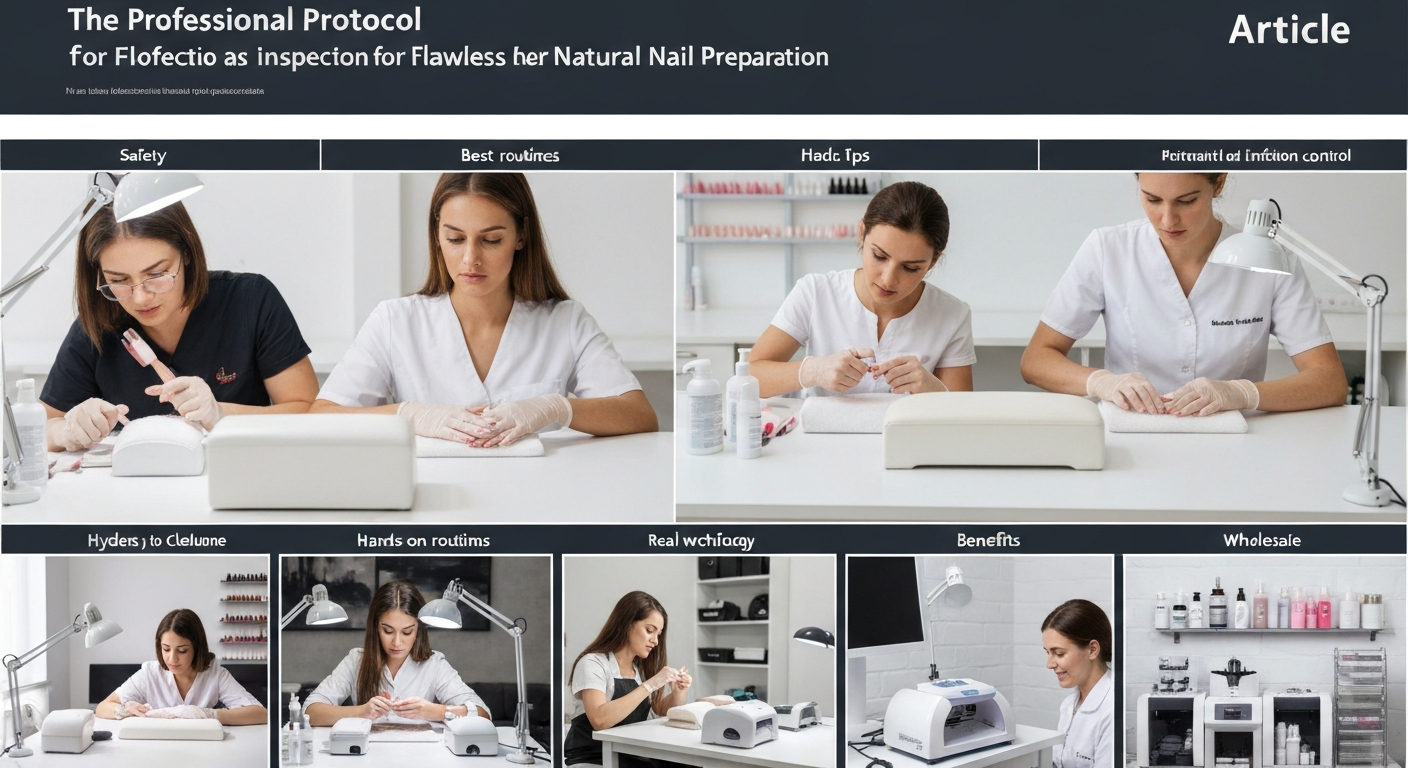
Steps for E-File Cuticle Work:
- Push back the eponychium gently using a stainless steel pusher or orange wood stick.
- Select a fine diamond bit (flame or needle shape) running at a low speed (5,000 – 7,000 RPM).
- Gently exfoliate the dead tissue from the nail plate, ensuring the bit lies flat to avoid creating “rings of fire.”
- Brush away dust thoroughly. Dust particles trapped under product are a primary cause of micro-lifting.
2. Mechanical Adhesion: Surface Etching
Nail products require a textured surface to bond effectively. However, “roughing up” the nail is an outdated and damaging term. We are looking to remove surface shine and raise the keratin fibers.
Over-filing thins the nail plate, making it flexible. A flexible foundation under a rigid product (like acrylic) causes separation.
Best Practices for Surface Prep:
- Use a 180-grit buffer or a fine sanding band (240-grit) for your e-file.
- Use light pressure. You only need to remove the oil and shine, not layers of the nail plate.
- Focus on the lateral sidewalls and the area near the cuticle, as these are the most common lifting zones.
- Cleanse the nail with 99% Isopropyl Alcohol or a pure acetone mixture to remove filing debris.
3. Chemical Preparation: Dehydrators and Primers
Once the physical prep is complete, you must alter the chemical state of the nail plate to accept the product. This involves managing moisture and pH levels.
Dehydrators (pH Bond)
A dehydrator removes temporary moisture and oils from the surface. This step is temporary; the nail will re-hydrate within 20 minutes, so work efficiently.
Apply liberally to all nails. The nail plate should turn a chalky white color, indicating that surface moisture has evaporated.
Primers (The Anchor)
Primer acts as double-sided sticky tape. One side bonds to the keratin of the natural nail, and the other bonds to the artificial product.
Selecting the Right Primer:
- Acid-Free Primer: The industry standard for gel and most modern acrylics. It acts like a magnet for the product without corrosive effects.
- Acid Primer (Methacrylic Acid): Rarely used today except for clients with extremely oily nail plates or problematic lifting history. Use sparingly to avoid chemical burns.
Apply primer “dry.” Wipe your brush on the bottle neck before application. Flooding the cuticle with primer can cause product discoloration and skin irritation.
4. The “Flush” Application Technique
Even with perfect prep, application technique dictates retention. When applying your base coat or acrylic bead, you must leave a tiny margin of safety.
The product must taper flush to the natural nail. If there is a “ledge” or thick ridge of product near the cuticle, it will catch on hair and clothing.
This mechanical friction pulls the product away from the nail plate, creating an air pocket. Once air and water enter, bacterial growth (pseudomonas) becomes a risk.
5. Final Inspection Before Curing
Before curing your base gel or letting your acrylic polymerize, perform a 360-degree check. Look down the barrel of the nail and check the sidewalls.
If product has touched the skin, remove it immediately with a cleanup brush dipped in alcohol. Do not cure product on the skin.
Summary for Salon Owners:
- Train your staff to allocate at least 15 minutes of the service time strictly to prep.
- Replace sanding bands for every client to ensure a sharp, clean grit.
- Invest in high-quality diamond bits to safely remove pterygium without damage.
Mastering these fundamental steps will drastically reduce client callbacks for repairs and build your reputation as a high-quality nail salon.