Preventing Gel Polish Lifting: A Professional Troubleshooting Guide
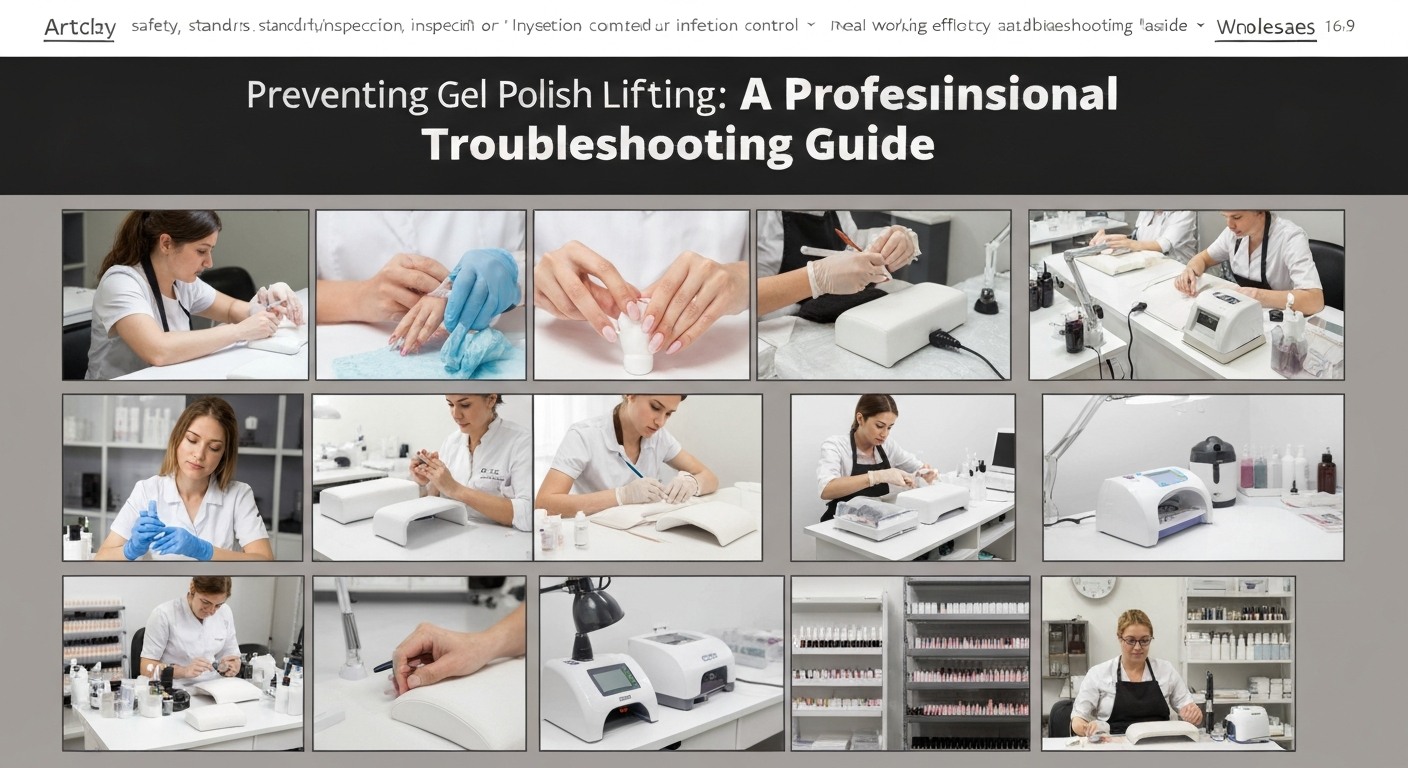
For any professional nail technician, client retention is directly linked to product retention. Nothing damages a salon’s reputation faster than a set of gel nails that lifts after a few days.
Lifting is rarely a product fault; it is almost always a breakdown in preparation or application technique. Understanding the chemistry and mechanics of adhesion is vital.
This guide covers the technical standards required to ensure your gel polish services last three weeks or longer without compromising the natural nail.
1. The Critical Role of Cuticle Prep
The most common cause of lifting occurs near the cuticle area. This is often due to the presence of non-living tissue on the nail plate.
Many technicians confuse the eponychium with the cuticle. The cuticle is the dead, invisible skin (pterygium) that is stuck to the nail plate.
If you apply gel over this tissue, the product will not bond to the keratin of the nail. It will bond to the skin, which naturally sheds, taking the gel with it.
Removing Pterygium Correctly
Manual Removal: Use a high-quality stainless steel pusher. Gently lift the proximal nail fold and scrape the plate to remove the white, flaky tissue.
E-File Technique: If you are certified, use a diamond cuticle bit (flame or cylinder) at a low RPM. Keep the bit flat against the plate to exfoliate the tissue safely.
Ensure the nail plate is completely matte and free of debris in the sidewalls and proximal fold before proceeding.
2. Surface Texture and Mechanical Adhesion
Gel polish requires a specific surface texture to bond effectively. A nail plate that is too smooth provides no grip for the base coat.
Conversely, over-filing damages the nail plate layers, leading to thinning and flexibility that causes product separation.
Proper Buffing Standards
- Use a 180-grit or 240-grit sponge buffer or file, depending on the manufacturer’s instructions.
- Gently remove the surface shine only. You are creating micro-channels for the product to lock into.
- Dust removal is crucial. Use a stiff manicure brush and pure acetone or alcohol to remove all dust particles from the plate and sidewalls.
3. Dehydration and pH Balancing
The natural nail contains oils and moisture that act as a barrier to chemical bonding. These must be temporarily removed.
Dehydrators: These strip surface moisture and oils. Apply liberally and watch for the nail to turn chalky white.
Primers/Bonders: These act as double-sided sticky tape. Acid-free primers are the industry standard for gel polish systems.
Apply primer sparingly. Flooding the cuticle with primer can actually cause lifting or skin irritation. A thin, semi-dry layer is sufficient.
4. Application Control: The Gap and The Cap
Touching the skin with gel polish is a guarantee of service failure. Once polymerized, the hardened gel against soft skin creates a leverage point that forces the product up.
The Margin of Safety
Leave a microscopic gap (hairline) between the product and the proximal nail fold/sidewalls. This creates a clean seal.
If you accidentally touch the skin, remove it immediately with a clean brush dipped in cleanser before curing.
Sealing the Free Edge
Capping the free edge wraps the product around the tip of the nail. This prevents water and oils from seeping between the natural nail and the product.
Cap every layer: base, color, and top coat. Ensure the cap is thin to avoid a bulky ridge at the tip.
5. Curing Lamp Compatibility and Maintenance
Undercuring is a silent killer of gel manicures. If the photo-initiators in the gel are not fully activated, the bottom layer remains soft.
Check Your Nanometers: Ensure your lamp emits the correct UV wavelength (usually 365nm + 405nm) required by your specific gel brand.
Hand Placement: Educate clients on proper hand placement. Thumbs should often be cured separately to ensure direct light exposure.
Bulb Strength: LED diodes degrade over time. If you notice lifting increasing across multiple clients, it may be time to replace your lamp unit.
Summary Checklist for Technicians
To troubleshoot a client with chronic lifting issues, review your workflow against this standard:
- Was all pterygium removed from the cuticle area?
- Was the nail plate dehydrated thoroughly?
- Did you avoid touching the skin with the primer or base coat?
- Are your gel layers thin and even?
- Is your curing lamp functioning at full power?
By adhering to these strict nail industry standards, you protect the health of your client’s nails and ensure the longevity of your work.