Mastering Adhesion: How to Stop Gel and Acrylic Lifting
Product lifting is one of the most common complaints in nail salons. It costs technicians time, affects client retention, and impacts the salon’s reputation.
Understanding the chemistry of adhesion and refining your prep routine are the only ways to guarantee long-lasting sets. This guide covers the industry standards for preventing service breakdowns.
The Science of Adhesion in Nail Enhancements
Adhesion occurs when the enhancement product creates a mechanical or chemical bond with the keratin of the natural nail plate. For this bond to hold, the surface must be compatible with the product.
Oil, moisture, and dead tissue are the primary barriers to adhesion. Even microscopic contaminants can cause the product to detach from the nail plate within days.
As a nail professional, your goal is to create a clean, dry, and textured surface without damaging the nail layers. This balance is critical for both gel polish and structural enhancements like liquid-and-powder or builder gel.
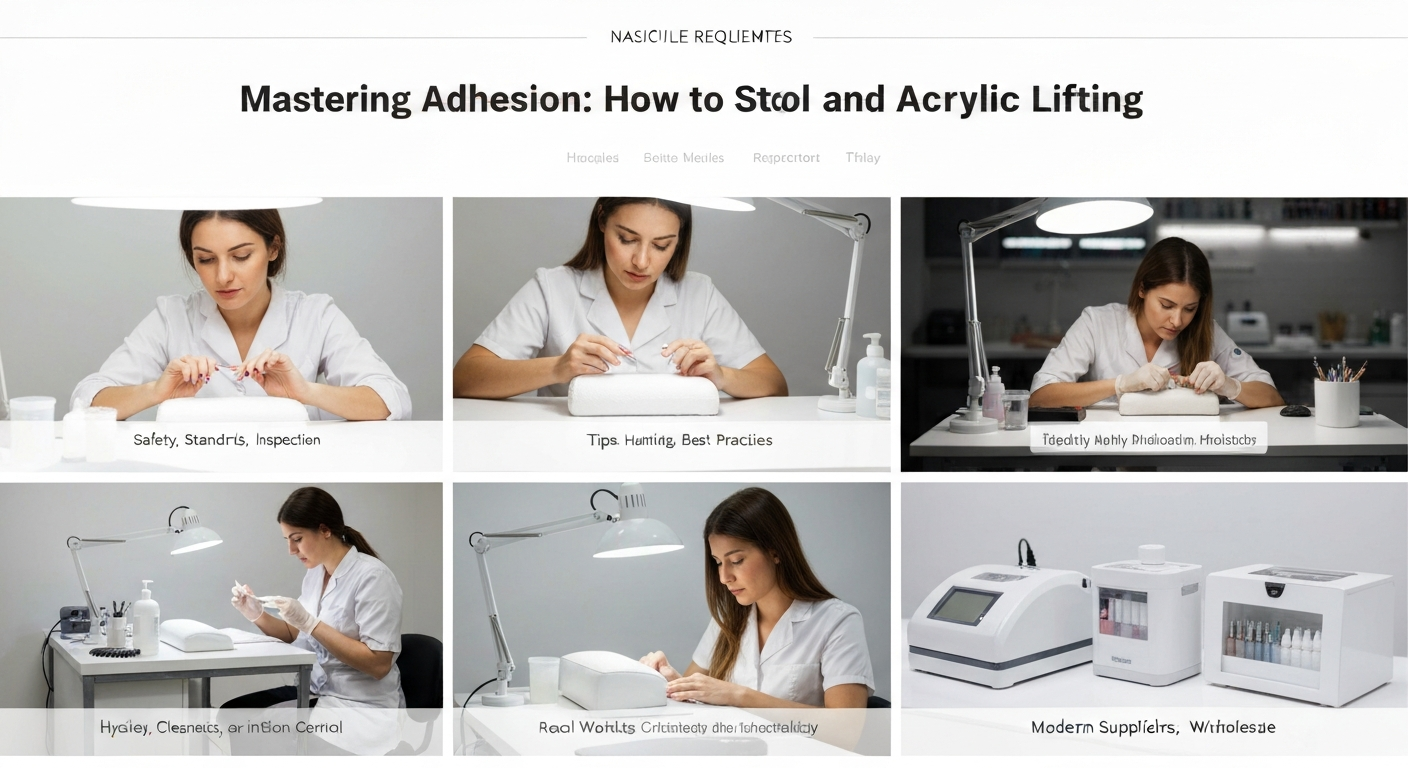
Critical Step: The Dry Manicure and Cuticle Prep
Water expands the nail plate. Performing a “wet” manicure before product application traps moisture, which leads to lifting as the nail shrinks back to its natural shape.
Industry standards now dictate performing a dry manicure (Russian or E-file manicure techniques) prior to any enhancement service.
Proper Pterygium Removal
The true culprit of lifting near the cuticle area is often remaining pterygium. This is the thin, sticky layer of dead skin attached to the nail plate, distinct from the eponychium (living skin).
Steps for effective removal:
- Push back the eponychium gently to reveal the cuticle pocket.
- Use a fine-grit diamond bit (flame or cylinder) at low RPM to exfoliate dead tissue from the plate.
- Ensure the lateral sidewalls are completely free of debris.
If product is applied over dead skin, it will not bond to the nail. Eventually, the skin sheds, taking the product with it and creating a gap for water to enter.
Surface Texture and Grit Selection
Nail products require a textured surface to “grab” onto. However, over-filing creates a weak foundation and can lead to heat spikes or Onycholysis.
Use a 180-grit hand file or a fine sanding band (180-240 grit) for natural nail preparation. The goal is to remove the shine (lipid layer), not to thin the nail plate.
Always etch vertically or in the direction of the nail growth to increase the surface area for the product to lock into. Avoid cross-hatching aggressively on natural nails.
Dehydrators vs. Primers: Knowing the Difference
Many nail technicians use these terms interchangeably, but they serve different chemical functions in the adhesion process.
Nail Dehydrators
Dehydrators are pH balancers containing solvents like isopropanol and acetone. They strip temporary surface moisture and oils. This step should be performed immediately before priming.
Nail Primers
Primers act as double-sided sticky tape. One side bonds to the keratin, and the other bonds to the acrylic or gel molecule.
Types of Primers:
- Acid-Based: Etches the nail plate chemically. Highly effective for problematic lifters but can cause chemical burns if it touches skin.
- Non-Acid (Acid-Free): Acts as a bonding magnet. It is the modern industry standard for gel and acrylic systems, offering safety and strong adhesion.
Application Control: The Importance of the Margin
Even with perfect prep, lifting will occur if the product touches the skin. Once cured or polymerized, product touching the skin creates a leverage point.
As the skin moves naturally, it pries the rigid enhancement away from the nail plate. This allows water and bacteria to seep underneath, potentially causing “greenies” (Pseudomonas).
The 1mm Safety Zone
Leave a tiny margin (hairline space) between the product and the eponychium/sidewalls. This invisible margin ensures the product seals only to the stable nail plate.
Use a liner brush (for gel) or precise bead control (for acrylic) to perfect this line. If product floods the cuticle, clean it immediately with a brush dipped in alcohol or monomer before curing.
Troubleshooting Common Salon Service Breakdowns
If a client returns with lifting, analyze the location of the lift to diagnose the technical error.
- Lifting at the Cuticle: Improper prep, remaining cuticle tissue, or product flooding the skin.
- Lifting at the Free Edge: Inadequate capping of the free edge or separation of natural nail layers (delamination).
- Pocket Lifting (Center): Incorrect mix ratio (acrylic too wet/dry), under-curing gel, or insufficient apex structure causing flexibility stress.
By strictly following these sanitation and preparation protocols, you protect your client’s nail health and secure the longevity of your work.