Preventing Gel Lifting: A Professional Guide for Nail Technicians
Service breakdown is the most common frustration in the nail salon environment. When a client returns with lifted gel polish after only a few days, it impacts your reputation and revenue.
Lifting rarely happens because of “bad product.” In 90% of cases, the issue lies in the preparation of the natural nail plate or the application technique.
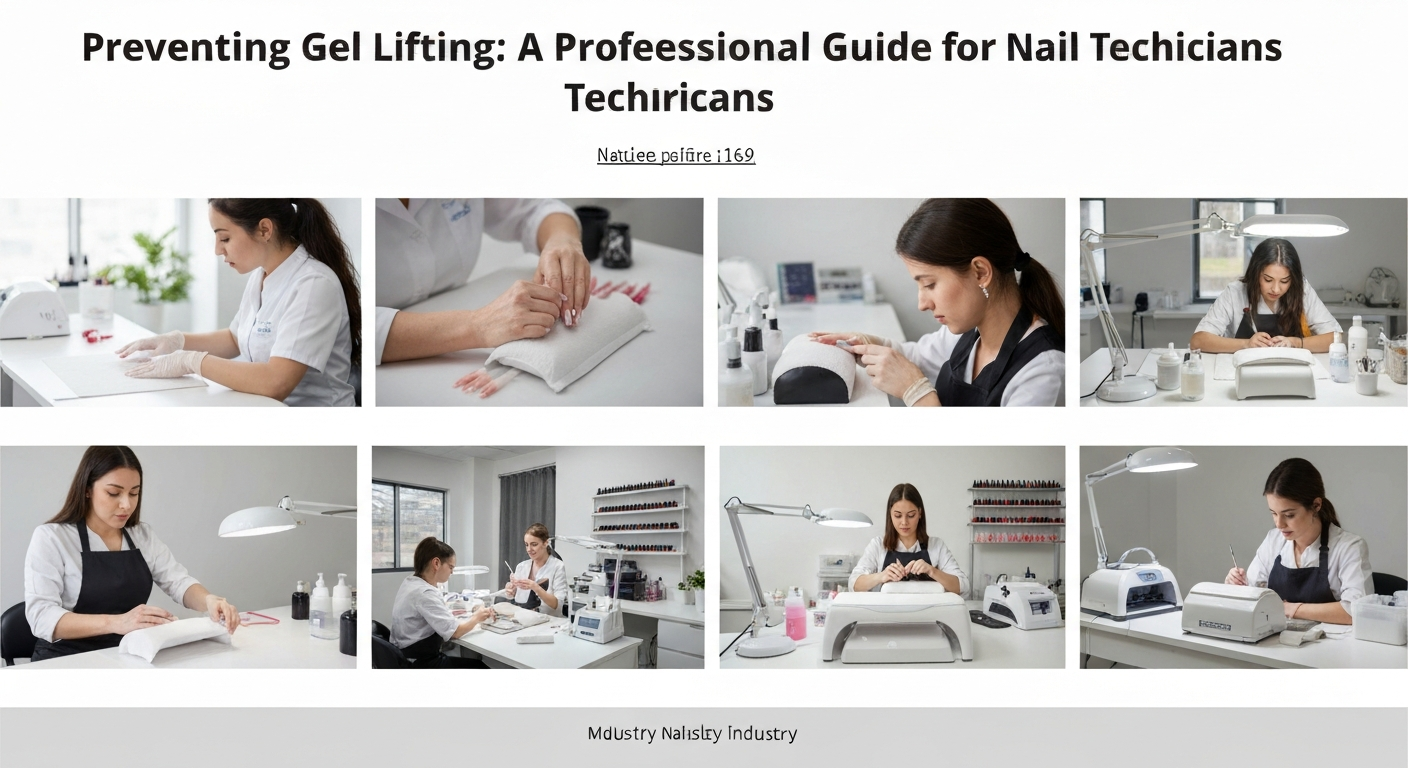
Mastering adhesion requires understanding the chemistry of the nail unit and following a strict protocol. Here is how professional nail technicians can ensure long-lasting results.
1. Meticulous Cuticle and Pterygium Removal
The most common cause of lifting at the eponychium area is remaining non-living tissue. The true cuticle is the sticky layer of skin called pterygium that adheres to the nail plate.
If you apply gel over pterygium, the product will bond to the skin, not the nail. As the skin sheds naturally, the gel will detach and lift.
Best Practice: Perform a thorough dry manicure. Use a diamond bit or a sharp cuticle pusher to gently exfoliate all dead tissue from the nail plate, specifically in the lateral folds and sinus area.
2. Proper Mechanical Preparation
Gel products need a textured surface to anchor onto. If the nail plate is too smooth, the product will peel off like a sticker. However, damaging the nail plate with coarse files thins the keratin and weakens the foundation.
Use a 180-grit sponge buffer or a mild file to gently remove the surface shine. You are not removing layers of the nail; you are simply raising the keratin scales to create a mechanical bond.
Always dust thoroughly. Dust particles trapped under the base coat act as a barrier to adhesion and will cause pocket lifting.
3. Chemical Dehydration and pH Balancing
Oil and moisture are the enemies of gel polymerization. Even if the nail looks dry, the nail plate contains natural oils and water that must be temporarily removed.
- Cleansing: Wipe the nail vigorously with a lint-free wipe soaked in 99% Isopropyl Alcohol or pure acetone.
- Dehydrator: Apply a dehydrator to strip surface moisture. The nail should turn chalky white instantly.
- Primer: Use a non-acid primer for most clients. It acts like double-sided tape. Apply sparingly; flooding the cuticle with primer can actually cause lifting.
4. The “Scrubbing” Base Coat Technique
Many nail technicians apply base gel like traditional nail polish. This is a mistake. Base gel is designed to penetrate the upper layers of the nail plate.
Use a designated gel brush to “scrub” the base coat into the nail plate with firm pressure. This forces the product into the micro-grooves you created during buffing.
After scrubbing, cure for the full recommended time. Undercuring the base layer is a guaranteed recipe for service breakdown.
5. Managing the Inhibition Layer and Free Edge
Capping the free edge (distal edge) is mandatory for every layer: base, color, and top coat. This seals the keratin layers and prevents water from seeping between the natural nail and the product.
Additionally, be mindful of product bulk. If the gel is too thick at the cuticle or sidewalls, it will touch the skin. Once cured, this bridge to the skin will pull away as the nail grows, creating a lift point.
Troubleshooting Chronic Lifters
If a client experiences lifting despite perfect prep, assess their lifestyle. Clients whose hands are constantly in water or who use their nails as tools may require a rubber base or a builder gel overlay for added structural integrity.
Check your curing lamp regularly. If your bulbs are old or dirty, the photo-initiators in the gel will not activate fully, leading to uncured product near the nail plate and eventual lifting.