Preventing Gel Lifting: The Professional Guide to Flawless Retention
For any professional nail technician, service breakdown is the enemy. There is nothing worse than a client returning after three days with hair getting caught in their cuticles or an entire gel overlay popping off.
Lifting is rarely a product failure. In 90% of cases, it is a failure of preparation or application technique. Mastering adhesion is the single most important skill in a nail salon environment.
To build a loyal clientele and reduce free repairs, you must understand the chemistry and mechanics of adhesion. This guide covers the industry standards for preventing gel lifting on natural nails.
Understanding the True Cause of Lifting
Lifting occurs when the bond between the natural keratin of the nail plate and the artificial polymer is compromised. This creates a gap where water, oil, and bacteria can penetrate.
While clients may blame the brand of gel polish, the issue usually stems from the nail plate not being a perfectly clean, dry canvas. Even microscopic debris can cause massive service breakdown.
The Invisible Culprit: Pterygium
The most common cause of lifting near the eponychium is non-living tissue left on the nail plate. This is the cuticle (pterygium), not the living skin (eponychium).
Gel products will bond to skin for a moment, but skin sheds naturally. When the skin under the gel sheds, the product lifts, creating a pocket for moisture.
Oil and Moisture Contamination
The nail plate acts like a sponge. If a client washes their hands immediately before service, the nail plate swells with water. As it dries and shrinks back to shape, the rigid gel coating does not shrink with it, causing separation.
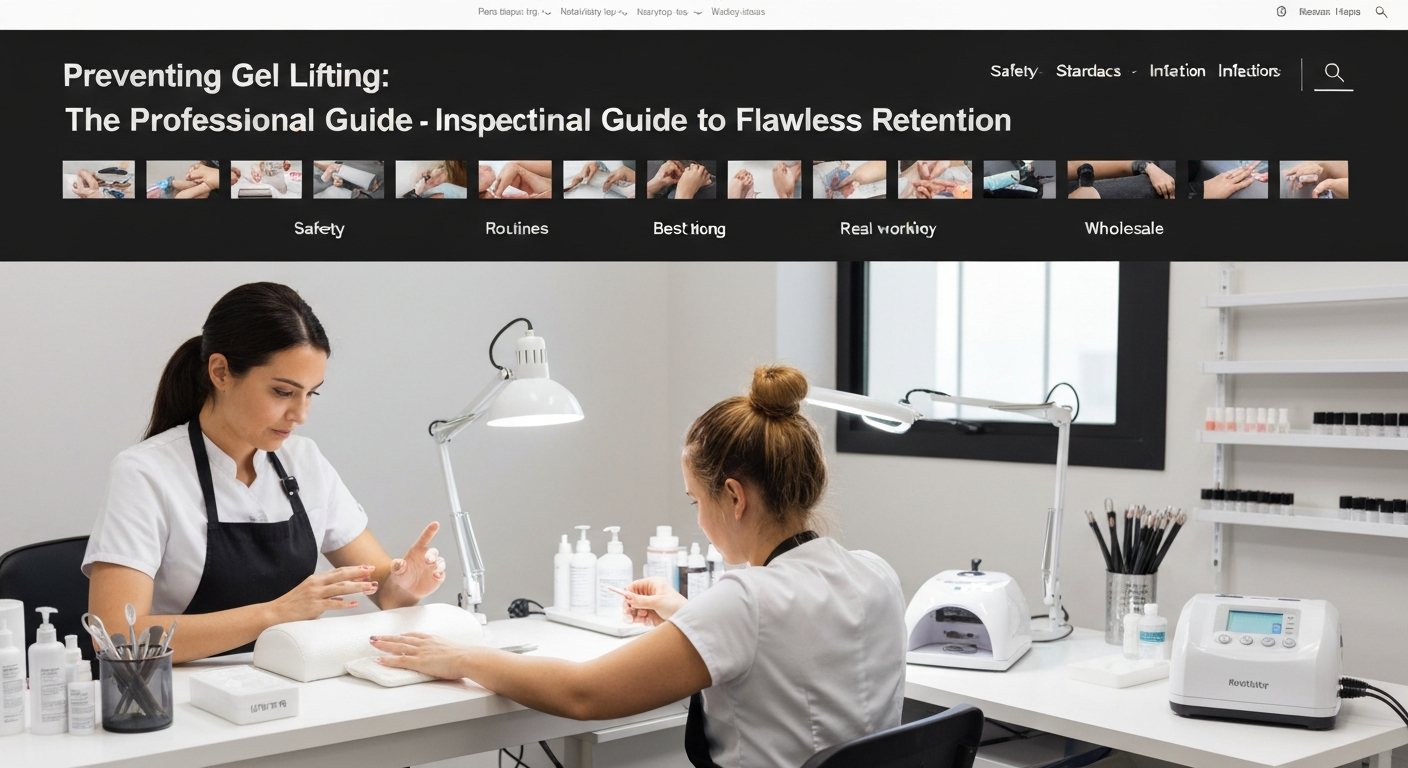
Step-by-Step Prep Protocol for Maximum Adhesion
To ensure gel manicures or builder gel overlays last 3 to 4 weeks, follow this strict sanitation and preparation workflow. Do not skip steps during busy salon hours.
1. perform a Dry Manicure
Avoid soaking the hands in water bowls. Water expands the nail plate and masks the true condition of the cuticle. Use a waterless technique for all gel services.
Use a stainless steel pusher or a diamond cuticle bit with an e-file (electric file) to gently lift the proximal fold. Scrape strictly against the nail plate to remove the thin, transparent layer of dead skin.
2. Mechanical Surface Etching
Adhesion requires texture. You must remove the surface shine to increase the surface area for the gel to grip. This is not about thinning the nail, but disrupting the smooth surface.
Use a 180-grit sponge buffer or a mild sanding band. Buff gently in the direction of nail growth and around the sidewalls. The goal is a chalky, matte finish with zero shiny spots.
3. Chemical Dehydration
Once the dust is brushed away, you must chemically strip the nail. Use a lint-free wipe saturated with pure acetone or a 90%+ isopropyl alcohol and acetone mix.
Scrub the nail plate vigorously. This “squeaking” clean step removes surface oils and temporarily dehydrates the keratin layers, preparing them to absorb the primer.
Correct Use of Primers and Base Coats
Chemical adhesion agents act as double-sided tape between the natural nail and the artificial product. However, misuse can lead to chemical burns or ineffective bonding.
Acid-Free vs. Acid Primers
Acid-Free Primer: The industry standard for gel polish. It acts like a sticky tape. Apply sparingly; flooding the nail with primer can actually cause slippage and lifting.
Acid Primer: Rarely needed for standard gel polish, but useful for problematic clients with oily nail plates using acrylic or hard gel. Use with extreme caution to avoid skin contact.
The “Scrubbing” Method
When applying your gel base coat, do not float it on like a color. You must mechanically force the product into the keratin structure you just roughed up.
Use your brush to firmly scrub the base gel into the nail plate. This ensures the product penetrates the micro-grooves created during buffing, locking the coating in place once cured.
Application Errors to Avoid
Even with perfect prep, poor application technique will result in lifting within days. Precision is non-negotiable in professional nail services.
Touching the Skin
If uncured gel touches the sidewalls or cuticle area, it must be cleaned immediately before curing. Once cured, any product touching skin will lift as the skin moves.
Leave a tiny margin (hairline gap) between the product and the skin. This “margin of safety” ensures a clean grow-out and prevents edge lifting.
Capping the Free Edge
Shrinkage happens when gel cures. If you do not seal the free edge, the gel may pull back, exposing the natural nail tip. This leads to separation at the distal edge.
Always run the brush along the free edge with your base, color, and top coat to encase the natural nail completely.
Troubleshooting Chronic Lifting
If a client consistently experiences lifting despite perfect protocol, assess their lifestyle and nail type. Thin, flexible nails may need a rubber base or builder gel instead of standard gel polish.
The flexible natural nail bends under stress, but standard gel is rigid. This flex causes the product to snap off. Matching the flexibility of the product to the natural nail is the mark of an expert nail technician.