Mastering Builder Gel Retention: The Professional Prep Protocol
For professional nail technicians, service retention is the ultimate measure of success. Nothing frustrates a client or damages a reputation faster than premature lifting.
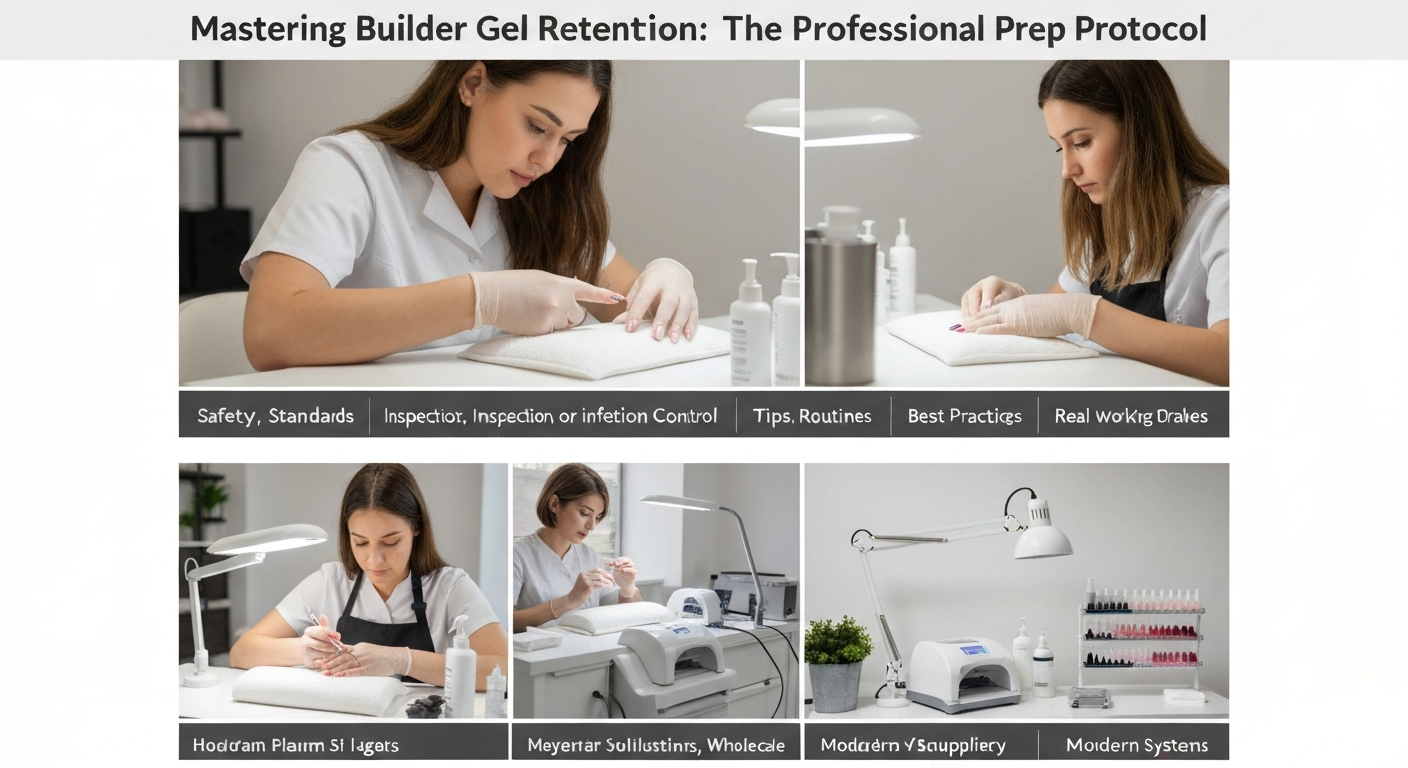
Builder gel, often referred to as BIAB (Builder In A Bottle), requires a specific preparation protocol different from standard gel polish or acrylics.
Understanding the chemistry of adhesion and the mechanics of the natural nail is essential for guaranteeing 4-week wear.
The Science of Adhesion: Why Lifting Occurs
Lifting occurs when the bond between the natural keratin of the nail plate and the artificial polymer breaks down.
The most common culprit is not the product itself, but the presence of contaminants on the nail plate.
Oils, moisture, dust, and remaining non-living tissue create a barrier that prevents the gel from fusing with the nail.
Step 1: Precision Cuticle Analysis and Removal
Mechanical preparation begins with the eponychium and lateral folds. You must remove all non-living tissue from the nail plate.
Using a cuticle pusher alone is often insufficient for builder gel services. An e-file with a diamond bit is recommended for thorough cleaning.
Key steps for cuticle work:
- Gently push back the eponychium to expose the true cuticle line.
- Use a flame or cylinder diamond bit at a low RPM (5,000–8,000) to lift and exfoliate non-living tissue.
- Ensure the lateral sidewalls are completely free of debris.
- Brush away dust continuously to maintain visibility of the work area.
Step 2: Surface Etching and Mechanical Bonding
Builder gel requires a textured surface to anchor effectively. A perfectly smooth nail plate will result in “popping” or peeling.
However, over-filing damages the nail plate layers, leading to thinning and heat spikes during polymerization.
The correct etching technique:
- Use a 180-grit sponge buffer or a 240-grit hand file.
- Gently buff the surface in the direction of the nail growth to raise the keratin scales.
- Focus on the cuticle area and free edge, as these are the primary stress points for lifting.
- The goal is to remove shine, not nail thickness.
Step 3: Chemical Preparation and Dehydration
Once the dust is removed, chemical preparation creates the optimal pH balance for adhesion.
Do not use water during this stage. The nail plate is porous and will expand with moisture, causing lifting as it shrinks back down later.
Application order:
- 99% Isopropyl Alcohol: Scrub the nail plate vigorously with a lint-free wipe to remove dust.
- Dehydrator: Apply liberally to strip surface oils and evaporate moisture. The nail should look chalky white.
- Primer/Bonder: Apply sparingly. Non-acid primers act as double-sided tape. Avoid flooding the skin, as this causes contact dermatitis and lifting.
Step 4: The Scrub Layer Technique
Many builder gels function best when a “scrub layer” is applied before the slip layer and apex build.
This ensures the product penetrates the etched grooves of the keratin layers.
Apply a very thin amount of clear base or builder gel. Use a dedicated gel brush to massage it firmly into the nail plate.
Cure this layer fully according to your lamp’s manufacturer specifications (usually 30–60 seconds LED).
Step 5: Controlling the Apex and Free Edge
Structural integrity prevents the nail from flexing too much, which can force the product to separate from the natural nail.
The apex must be placed correctly to absorb shock. If the apex is too flat, the stress transfers to the cuticle area, causing lifting.
Capping the free edge:
- Always seal the free edge with your builder gel.
- If the client has natural nails that curl away from the product, file underneath the free edge after curing.
- This “clean finish” technique removes the separation gap where water often enters.
Troubleshooting Common Lifting Zones
Lifting at the Cuticle: Usually caused by product touching the skin or insufficient dust removal. Leave a tiny margin (0.5mm) between the product and skin.
Lifting at the Free Edge: Caused by weak natural nails flexing away from rigid gel. Recommend a shorter length or use a more flexible builder gel formula.
Lifting in the Center (Pocket Lifting): Indicates improper curing. Check your lamp bulbs and ensure the hand placement is correct.
Maintaining Industry Standards
Consistent retention relies on a standardized workflow. Do not rush the prep steps to save time.
Educate your clients on aftercare, specifically the importance of using high-quality cuticle oil daily.
Flexible, hydrated nails resist breaking and hold onto product longer than brittle, dry nails.