Biosecurity for Nail Technicians: Mastering Tool Sterilization
In the professional nail industry, artistic skill draws clients in, but hygiene keeps them safe.
Biosecurity is not just a buzzword; it is the backbone of a reputable nail salon.
For nail technicians in Portugal and across Europe, adhering to strict infection control standards is non-negotiable.
Understanding the Hierarchy of Hygiene
Many new technicians confuse cleaning with sterilization.
To ensure safety, you must understand the three distinct levels of decontamination.
Skipping a level puts your clients at risk of fungal, bacterial, and viral infections.
1. Sanitation (Cleaning)
This is the physical removal of visible debris.
Washing tools with soap and water removes dust, skin cells, and product residue.
Sanitation reduces the number of germs but does not kill them all.
2. Disinfection
Disinfection involves using chemicals to kill most microorganisms.
This is typically done by soaking tools in a hospital-grade disinfectant solution.
While effective for surfaces, disinfection alone is not sufficient for metal tools like cuticle nippers.
3. Sterilization
This is the highest level of decontamination.
Sterilization destroys all microbial life, including highly resistant bacterial spores.
For any tool that can break the skin, such as cuticle nippers and pushers, sterilization is mandatory.
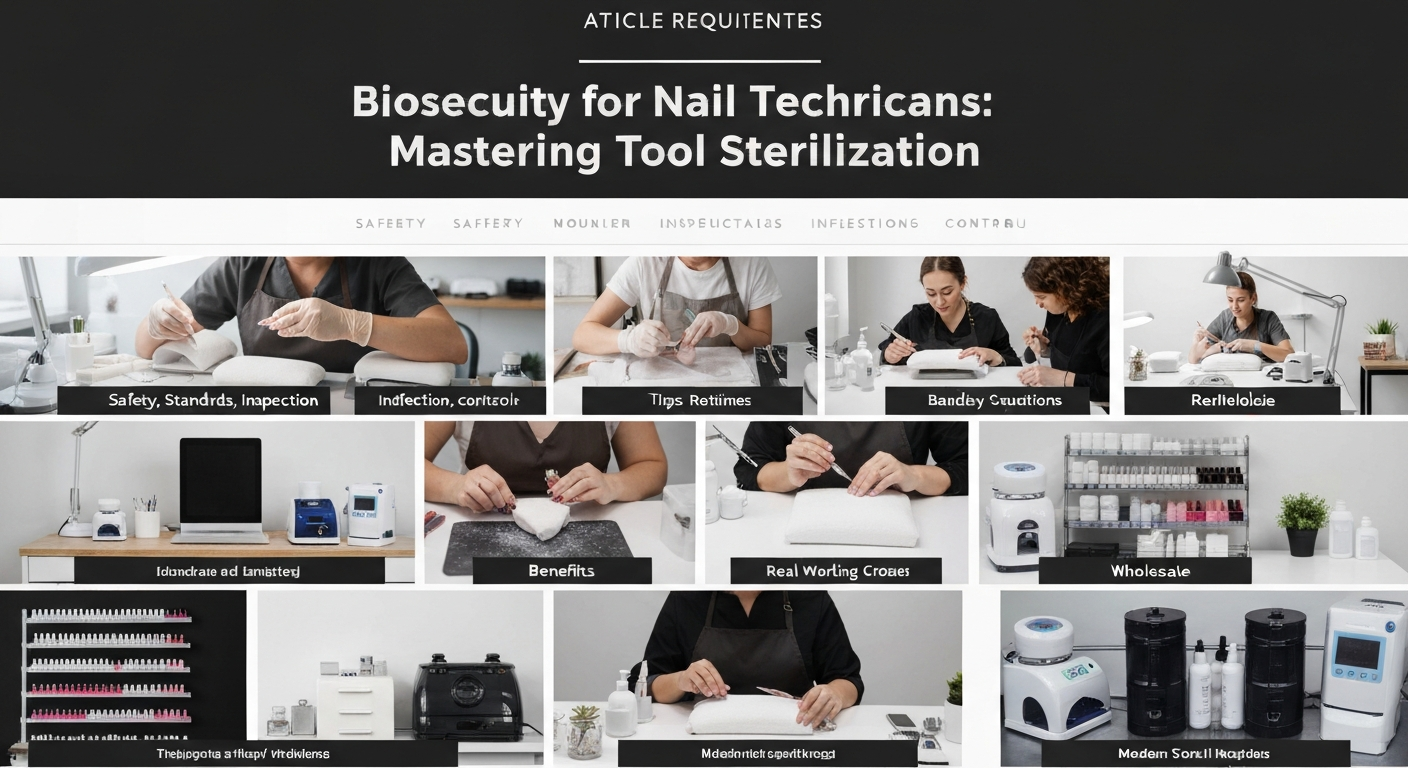
The Essential Equipment for Nail Salons
To perform sterilization correctly, you need specific professional equipment.
Relying on boiling water, alcohol, or UV light boxes is professionally unacceptable.
These methods do not meet the sanitary standards required for nail salons in the EU.
The Autoclave
The gold standard for sterilization is the Autoclave.
It uses high-pressure saturated steam to kill pathogens at temperatures around 121°C or 134°C.
Class B autoclaves are widely recommended for hollow and porous instruments used in beauty sectors.
Ultrasonic Cleaner
While hand-scrubbing is possible, an ultrasonic cleaner is superior for pre-cleaning.
It uses sound waves to create microscopic bubbles that dislodge debris from hinges.
This ensures the cutting blades and joints of your nippers are truly free of organic matter.
Enzymatic Detergent
This is a specialized cleaning solution designed to break down proteins and organic matter.
Using regular dish soap is often insufficient for dissolving blood or tissue residue.
Enzymatic detergents prepare the tools effectively for the sterilization cycle.
Step-by-Step: How to Sterilize Cuticle Nippers
Follow this exact protocol to sterilize your metal tools.
This workflow protects your clients and extends the life of your expensive nippers.
Consistency is key to maintaining a safe salon environment.
Step 1: Pre-Cleaning and Washing
Immediately after service, rinse tools under running water to remove loose debris.
Place the tools in an ultrasonic cleaner filled with water and enzymatic detergent.
Run the cycle for the time recommended by the detergent manufacturer (usually 5-10 minutes).
If you do not have an ultrasonic cleaner, use a soft nylon brush.
Scrub the tools gently under warm running water with the detergent.
Pay close attention to the hinge area of the cuticle nippers where skin collects.
Step 2: Drying the Tools
This is a critical step that is often overlooked.
Remove tools from the water and dry them completely with a clean, lint-free disposable towel.
Never place wet tools into sterilization pouches.
Moisture inside the pouch can interfere with the sterilization cycle.
Wet tools can also rust or corrode during the high-heat process.
Ensure the joints of the nippers are completely moisture-free.
Step 3: Packaging
Place the dry tools into self-sealing sterilization pouches (kraft paper/plastic).
Do not overcrowd the pouch; the steam needs to circulate around the tool.
Seal the pouch carefully along the perforated line.
Label the pouch with the date of sterilization.
This helps you track when the sterilization remains valid.
Standard pouches have chemical indicators that change color after processing.
Step 4: Autoclaving
Load the pouches into the autoclave trays.
Place pouches paper-side up or on their edges using a rack to ensure steam penetration.
Do not overload the autoclave chamber; overcrowding leads to failed sterilization.
Select the appropriate cycle (usually 134°C for metal tools).
Allow the machine to run the full cycle, including the drying phase.
Do not open the door until the pressure has dropped and the cycle is complete.
Step 5: Storage
Remove the pouches only when they are dry and cool.
Store the sealed pouches in a clean, dry, and enclosed cabinet or drawer.
The tools remain sterile inside the pouch until it is opened.
Open the pouch only in front of the client.
This builds immense trust and demonstrates your commitment to their safety.
If a pouch becomes wet or torn during storage, the tool must be re-sterilized.
Common Sterilization Mistakes to Avoid
Even experienced nail technicians can fall into bad habits.
Avoid these common errors to ensure your salon meets the highest safety standards.
Your reputation depends on strict adherence to these protocols.
Using Glass Bead Sterilizers
Small pots filled with hot glass beads are not effective sterilizers.
They heat unevenly and do not monitor pressure or time accurately.
Health authorities in many regions have banned these for professional use.
Spraying Alcohol and Calling it Done
Spraying 70% alcohol on nippers is merely disinfection, not sterilization.
Alcohol does not kill hepatitis viruses or fungal spores.
This method offers a false sense of security and endangers clients.
Reusing Disposable Items
Files, buffers, and sanding bands are porous and cannot be sterilized.
These items must be thrown away after every single client.
Attempting to wash or spray porous items creates a breeding ground for bacteria.
Biological Monitoring and Indicators
How do you know your autoclave is actually working?
Simply seeing the pouch change color is not enough proof of sterility.
You must implement a monitoring system for your equipment.
Chemical Indicators
These are the color-changing strips on your sterilization pouches.
They indicate that the package was exposed to heat.
Check these after every cycle to ensure the process occurred.
Biological Spore Tests
This is the only way to verify the autoclave is killing microorganisms.
It involves processing a vial containing highly resistant bacterial spores.
Nail salons should run a biological test monthly or as required by local regulations.
Protecting Yourself and Your Clients
Biosecurity extends beyond the tools to the nail technician’s personal protection.
Always wear disposable nitrile gloves during the service.
Change gloves immediately if they become torn or punctured.
Wear a mask to prevent inhaling nail dust and pathogens.
Wash your hands thoroughly before and after every client.
Keep your workstation surfaces disinfected with hospital-grade surface wipes.
Communicating Safety to Your Clients
Your investment in biosecurity is a powerful marketing tool.
Educate your clients about the steps you take to keep them safe.
Explain why you open the sealed pack in front of them.
Clients are increasingly aware of hygiene risks in beauty salons.
When they see an autoclave and sealed pouches, they feel reassured.
This professionalism justifies your pricing and builds long-term loyalty.
Summary of Best Practices
- Invest in quality: Buy a certified Autoclave and proper sealing machine.
- Pre-clean thoroughly: You cannot sterilize dirt; clean before you autoclave.
- Dry before packaging: Moisture is the enemy of sterilization and tool longevity.
- Single-use means single-use: Never reuse buffers or files.
- Open in front of the client: Visual proof of your hygiene standards.
By mastering sterilization, you elevate yourself from a nail enthusiast to a true industry professional.
Safety is the foundation upon which beautiful nail art is built.
Adhere to these standards to protect your business, your health, and your clients.